

Today we want to build an automation with which we can easily send automated SMS or Whatsapp messages. In this tutorial, we will focus on an introduction to the tools required for this and then give recommendations on how to expand these basics into advanced automations.
To build our no-code messaging automation we need 2 basic components. A service with which we can send messages and a platform with which we can build an automation based on it without code, which we can then also customize as desired.
In this tutorial, we use the market leader Twilio as the messaging platform and n8n as the automation platform.
Here are a few example automations that you can build with the Twilio integration in n8n. For convenience, you can also copy them directly into your n8n account.
- Automated congratulations with Google Sheets, Twilio, and n8n
- Get the price of BTC in EUR and send an SMS
- Get daily SMS updates about weather
- Send SMS alerts based on database queries (Twilio and Postgres)
What is Twilio?
Twilio offers developers a platform for building voice, video and messaging applications. The platform consists of a set of Application Programming Interfaces (APIs) that enables developers to make and receive voice and video calls, send and receive SMS, WhatsApp, and email, and perform other communication functions using its web service APIs.
It’s easy to set up a Twilio account to access all Twilio services from Twilio SMS to Twilio API. Empower true omnichannel communications and messaging from a single platform. To follow the tutorial you need a Twilio account, so if you don’t have one yet, follow this link to create a free account with trial credits.
To avoid having to control these APIs with complicated code, we use the n8n automation platform in the following.
Using n8n For Workflow Automation
To build our automation we use the software n8n. n8n is an open-source workflow automation software that is also available as a cloud version on the website of n8n in a free trial period.
It makes it super easy for anyone, with or without special technical knowledge, to build automations.
If you have never had any contact with n8n, you can get an overview of how to get started with n8n here.
Our Workflow
Defining The Workflow Trigger
Every n8n automation workflow begins with a trigger. This defines the logic according to which your workflow is started. Here you have the choice between:
- On App Event
- On A Schedule
- On Webhook Call
- On Form Submission
- Manually
- When Called By Another Workflow
- And Many More…
For our tutorial it is not important what you choose here, so it is best to choose the manual trigger for the prototype.

However, if you want to develop your workflow further and, for example, send messages based on events in other external applications, you can control this using the triggers.
The Twilio Integration
n8n has built a native Twilio integration that hides the API behind a simple user interface, making it even easier for us to use. To use this integration, however, we must first verify our Twilio account data via n8n in order to be able to access the services.

To do this, click on Credential at the top of the Twilio node and simply create new credentials.

Create A Twilio Test Account
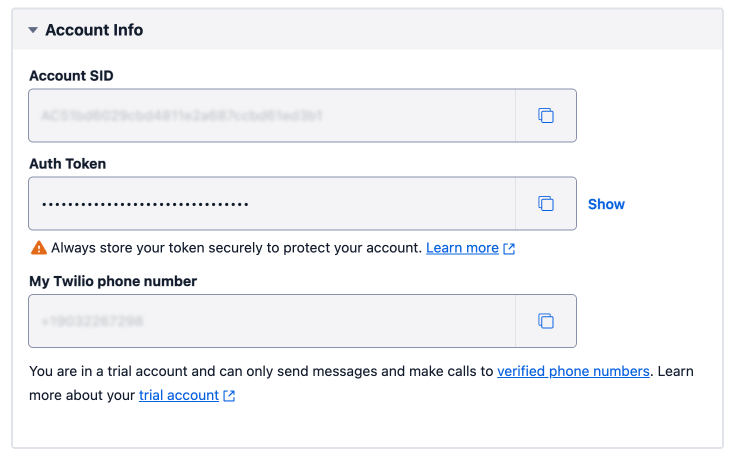
At this point, you now need a Twilio account with the corresponding account SID and Auth Token for authentication.
If you don’t have a Twilio account yet, no problem. You can easily create an account for free and try out this automation with test credits.

Once you have registered and verified yourself, you can simply copy the necessary authentication data from your profile dashboard into n8n.

The Integration Node
Now that we have added and saved our credentials, we only need to enter a few more pieces of information into n8n’s Twilio integration to send our first message.

- Resource: SMS (incl. WhatsApp) or Call possible. For now we will pick SMS, later on we can decide if it should be a WhatsApp Message or not.
- Operation: Send
- From: You have to put in the Twilio Phone number you can find in you Twilio Account Information.
- To: Put in the phone number you want to send the message to. If you are on a Twilio Free Account you should enter the number you verified your account with.
- To Whatsapp: Choose if it should be a SMS or a Whatsapp message.
- Message: The content of your message. For our first one I will put in “Test”
Now you only need to start the workflow via the manual trigger and you should receive a message on your entered number.

Congratulations, you have sent your first message. In this case, both the receipt number and the text were still quite manual. With n8n, however, you can now apply what you have learned to build much more complex automations. Here are a few examples of workflows with the Twilio integration that you can use as a guide:


Leave a comment