

Today we will dive into how you can set up automatic workflows to send out e-mails with service providers like Mailchimp, Mailjet, Mailgun, Gmail, or Outlook. We will use the workflow automation tool n8n to do so. If you do not know about n8n, you can check out a guide on how to get started in 5 minutes here and start your 14-day free trial here.
Ways of implementing Mail sending – n8n SMTP or n8n Gmail & Co.
There are 2 major ways of how to make mail sending work in n8n. We will take a look at both in this guide.
You can either build a SMTP integration yourself with the E-Mail Sending Node that n8n offers, or use the pre-built integrations.
If you want to prototype something with your personal Mail account or you use any service provider not supported via direct integration in n8n, I recommend going with the Manual SMTP integration.
If you use one of Gmail, Outlook, Mailchimp, Mailjet, or Mailgun and want to commercially send e-mails, you should use the respective direct integration of your service provider.
Manual – n8n SMTP with the E-Mail Sending Node
Setting up your Mail Sending Client
Before we can start diving into how to automatically send e-mails we need to set up our SMTP (Simple Mail Transfer Protocol) Server, from which we will be sending the Mail. There are different ways to do it and different vendors of commercial Mail-Servers. For this tutorial (prototyping) I will use a personal Gmail account, but you can use whatever you like.
If you use Gmail you can follow this guide to make your Account SMTP-Ready. If you use another personal email client, just google “{your mail client} smtp} to find a similar guide for Outlook or whatever you use and if you use a commercial SMTP-Server there should be proper documentation around how to access your SMTP-Server.
Setting up the Authentication in n8n
To use your SMTP-Server in n8n we now have to create credentials in n8n for your SMTP-Server.
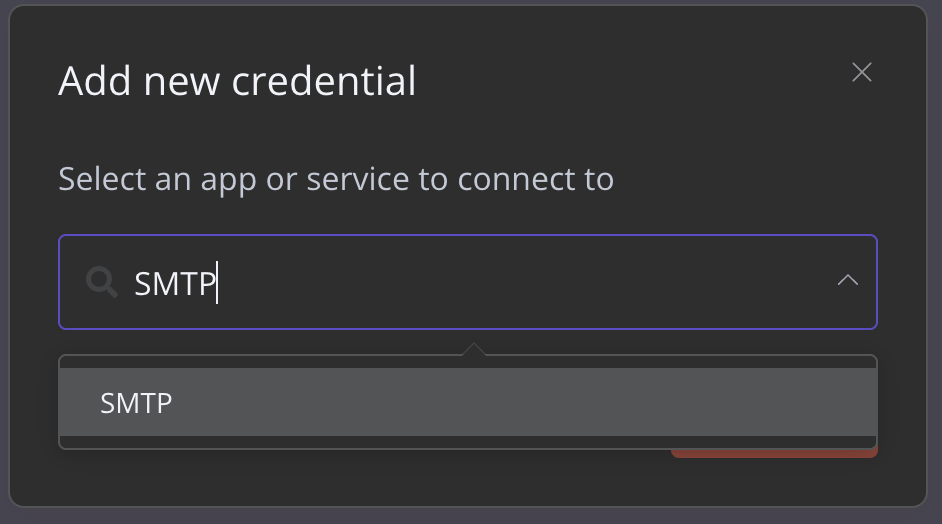
To do that, in your n8n account navigate to “Credential” and click on “New Credentials” in the top left. You will now end up in a search bar where you should search for “SMTP”, select it and click continue.
Now you should end up with an empty form to fill in your SMTP-Server information. First of all, give it a unique name in the top left of the box.
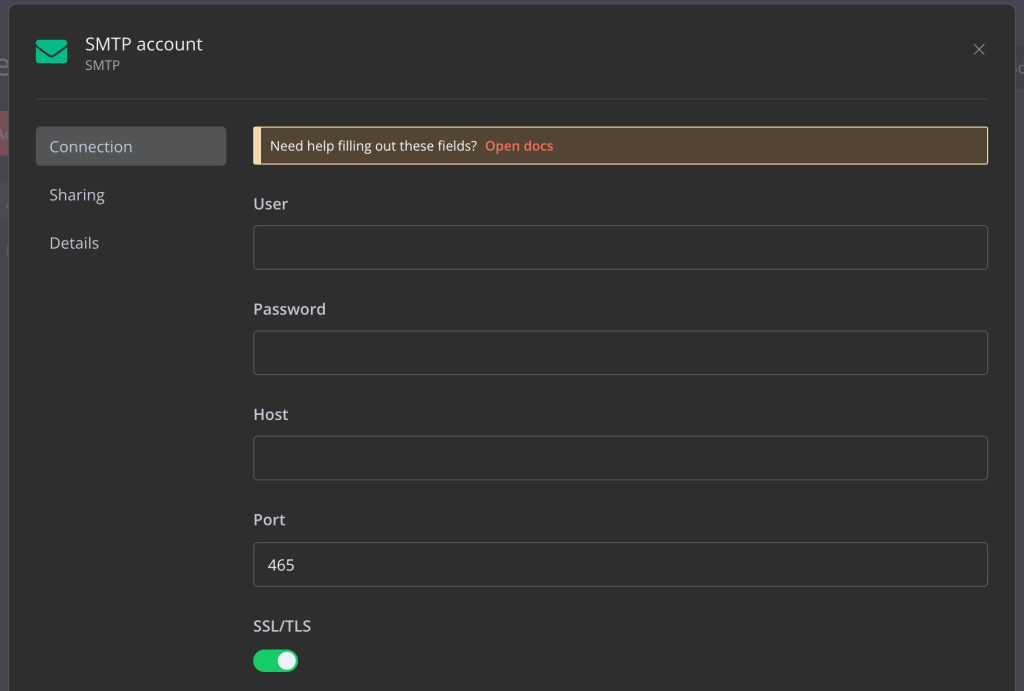
You should enter the following:
User: Your Mail Address (or different if your provider says so)
Password: Your Accounts Password. For Gmail or similar, the App-Password you created when setting up your SMTP-Server.
Host: The domain of your SMTP-Server. For Gmail it is “smtp.gmail.com”.
Port: The Port at the server you have to point to. If you are using Gmail, you can keep it on default (465).
SST/TLS: Let this switched on, unless stated otherwise by your vendor.
After you fill out the form, save it and return to your n8n Workflow.
Configuring the Node
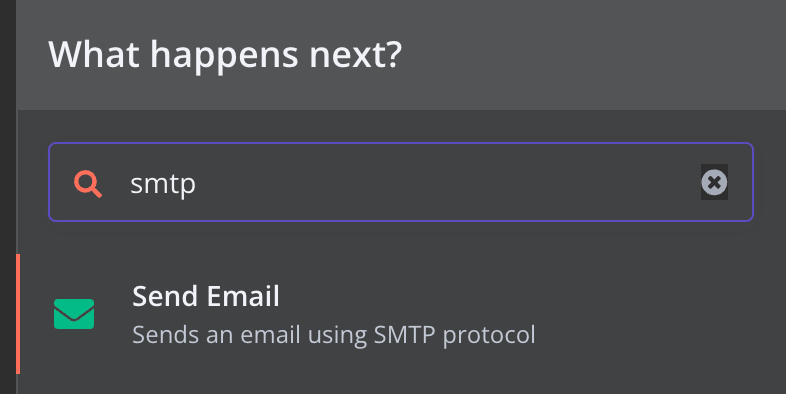
If you are in your workflow, press the + in the top right corner to search for the SMTP Node and select it. Now you can see the different parameters you have to configure, so that n8n knows what to do.

First, you have to connect to the credential that you just created by selecting it via the dropdown menu. Then you have to type in the “From” and “To” Email, The Subject of the mail, the Email Format, and thus the content of the mail.
Now you are ready to send your first Test-Mail, just press Execute node (the orange button) and have a look in your “To” Email inbox.
Now you can integrate this Email sending process into whatever flow you like, for example, you can retrieve the weather from an external API, and send it to you every morning.
You can also use output data of other processes to put in your mails, or use e-mail lists to extract “To” Mail addresses from. There are a lot of ways to integrate this into your workflow, and n8n can help you with it.
Native n8n E-Mail Client Integrations
In addition to manual integration via the SMTP protocol, n8n also offers integrations for various email services. For example, there are direct integrations for Gmail, Outlook, Mailgun, Mailjet and Mailchimp.
In this tutorial, we will take a deeper dive into Gmail integration, but the direct integrations for other vendors are quite similar, so just follow along.
Finding the right integration for you
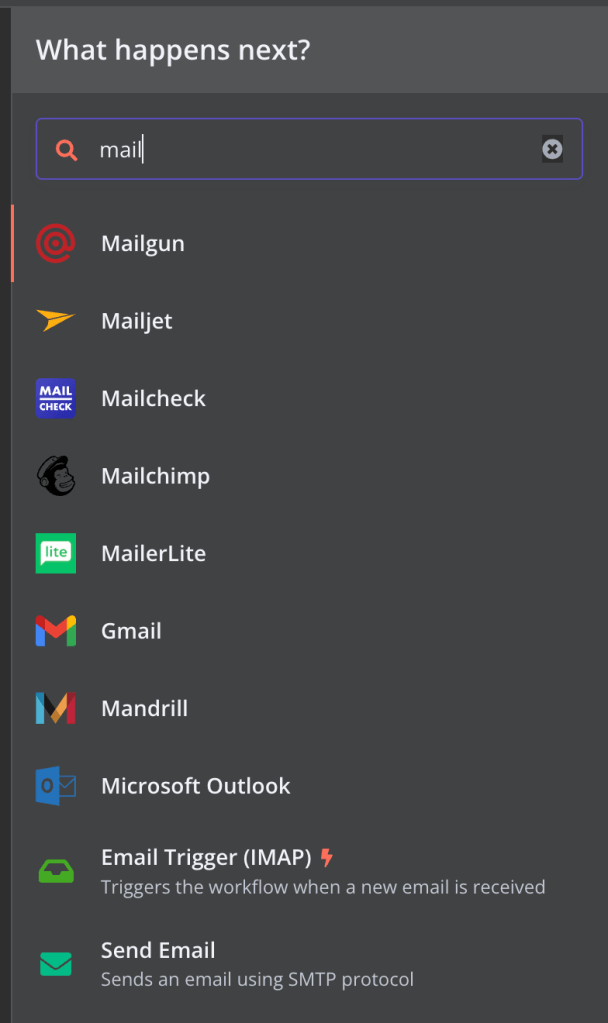
To view the options, click the + at the top right of your workflow and type “mail” in the search bar. You’ll see a list of different integrations (nodes) for building your email automation workflow.
Now, it’s your turn to pick the one you want. Once you’ve chosen a provider and clicked on it, you’ll see several pre-built actions you can use with the integration node.
With Gmail, you can do things in 4 main areas: Threads, Drafts, Labels, and Messages. Today, we’re focusing on sending emails, so we’ll select the action “Send a message.” You can also explore other actions and change this one later in the process.
Adding the Authentication
Now that you’re in your node, start by setting the initial parameters. Before specifying the email you want to send and the recipient, you must first authenticate yourself with the integration’s service provider. To do this, select the “Credential to connect with” field, and then choose “- Create New Credential -“.

You now have to authenticate yourself for the integration you are using. If you need deeper documentation on how to do this, click the following links, depending on the integration you use:
Adding the Parameters
Now you just have to add the missing parameters, so navigate back to the node, and fill out the fields according to your needs.

If you want to send an E-Mail, set Resource to Message, Operation to Send, fill out the “To” E-Mail, the subject and message you would like to send.
Now you are ready to go. Just press “Execute Node” on the top right of the node and have a look in your email inbox.
Now you can integrate this Email sending process into whatever flow you like, for example, you can retrieve the weather from an external API, and send it to you every morning.
You can also use output data of other processes to put in your mails, or use e-mail lists to extract “To” Mail addresses from. There are a lot of ways to integrate this into your workflow, and n8n can help you with it.


Leave a comment